Focus
The focus of this stage in your integrated design project is to explore how you can best implement the strategies that you identified for achieving your project goals as you design the features of your building’s power and lighting systems. For this check-in, you’ll add the elements of the power and lighting system to a small portion of your building model:
- Power System Elements
- Power Receptacles / Outlets
- Power Circuits
- Power Panels
- Lighting System Elements
- Lighting Fixtures
- Switches
- Lighting Circuits
- Lighting Panels
Recommended Approach
At this point in our design process, we’ll continue adding the details to flesh out our initial building design ideas -- for this check-in, focusing on some of the power and lighting system elements for a small portion of the building.
Step 1: Create a Linked Electrical Model
Step 1.1 - Create a new Revit project
- Create a new Revit project for your structural model using the Electrical-Default project template.
- Save the new model as a Project to a folder on your local disk.
- Then, upload this new project to your ACC folder using the Collaborate tool in the Collaborate tab of the ribbon.
- Open the Collaborate > Collaborate tool choose the In The Cloud option to upload your model to your ACC project folder.
Step 1.2 - Link to your Architectural model
- Open the the Insert > Link Revit tool, and navigate to your Architectural model (the Cloud Revit architectural model in your ACC project folder).
- Switch to a 3D View and select the linked Architectural model.
Step 1.3 - Acquire the Coordinates from your linked Architectural model
- Switch to the default 3D view — so you can see an overview of your linked Architectural model.
- Open the Manage > Project Location > Acquire Coordinates tool.
- Select the linked architectural model to acquire the coordinate system from the Architectural model and apply it to your new Electrical model.
Step 1.4 - Copy/Monitor the Levels from your Architectural model
- Switch to the South elevation view.
- Open the Collaborate > Copy/Monitor tool > Select Link tool.
- Click on your building in the background to select your linked Architectural model.
- You’re now in Copy/Monitor mode, where you’ll select the elements to be copied from the linked model.
- Click the Copy tool in the ribbon.
- Select each of the Levels from the linked Architectural model — one at a time. Be sure to click all of the levels — Level 0 through the highest level. As you click on each of the levels in your Architectural model, equivalent levels will be created in your Structural model.
- Click the green Finish checkmark when done to close Copy/Monitor mode.
- Use the View > Plan Views > Floor Plan tool to create Floor Plan views corresponding to each of the levels in your Electrical model.
Step 1.5 - Adjust the Project North direction in your Electrical model
- If your project site does not align well with the cardinal compass directions, you should adjust the Project North direction in your Revit models to make your modeling and drafting tasks easier.
- To do this:
- Switch to the Level 1 floor plan view in your new Structural model.
- Zoom in on your Architectural model.
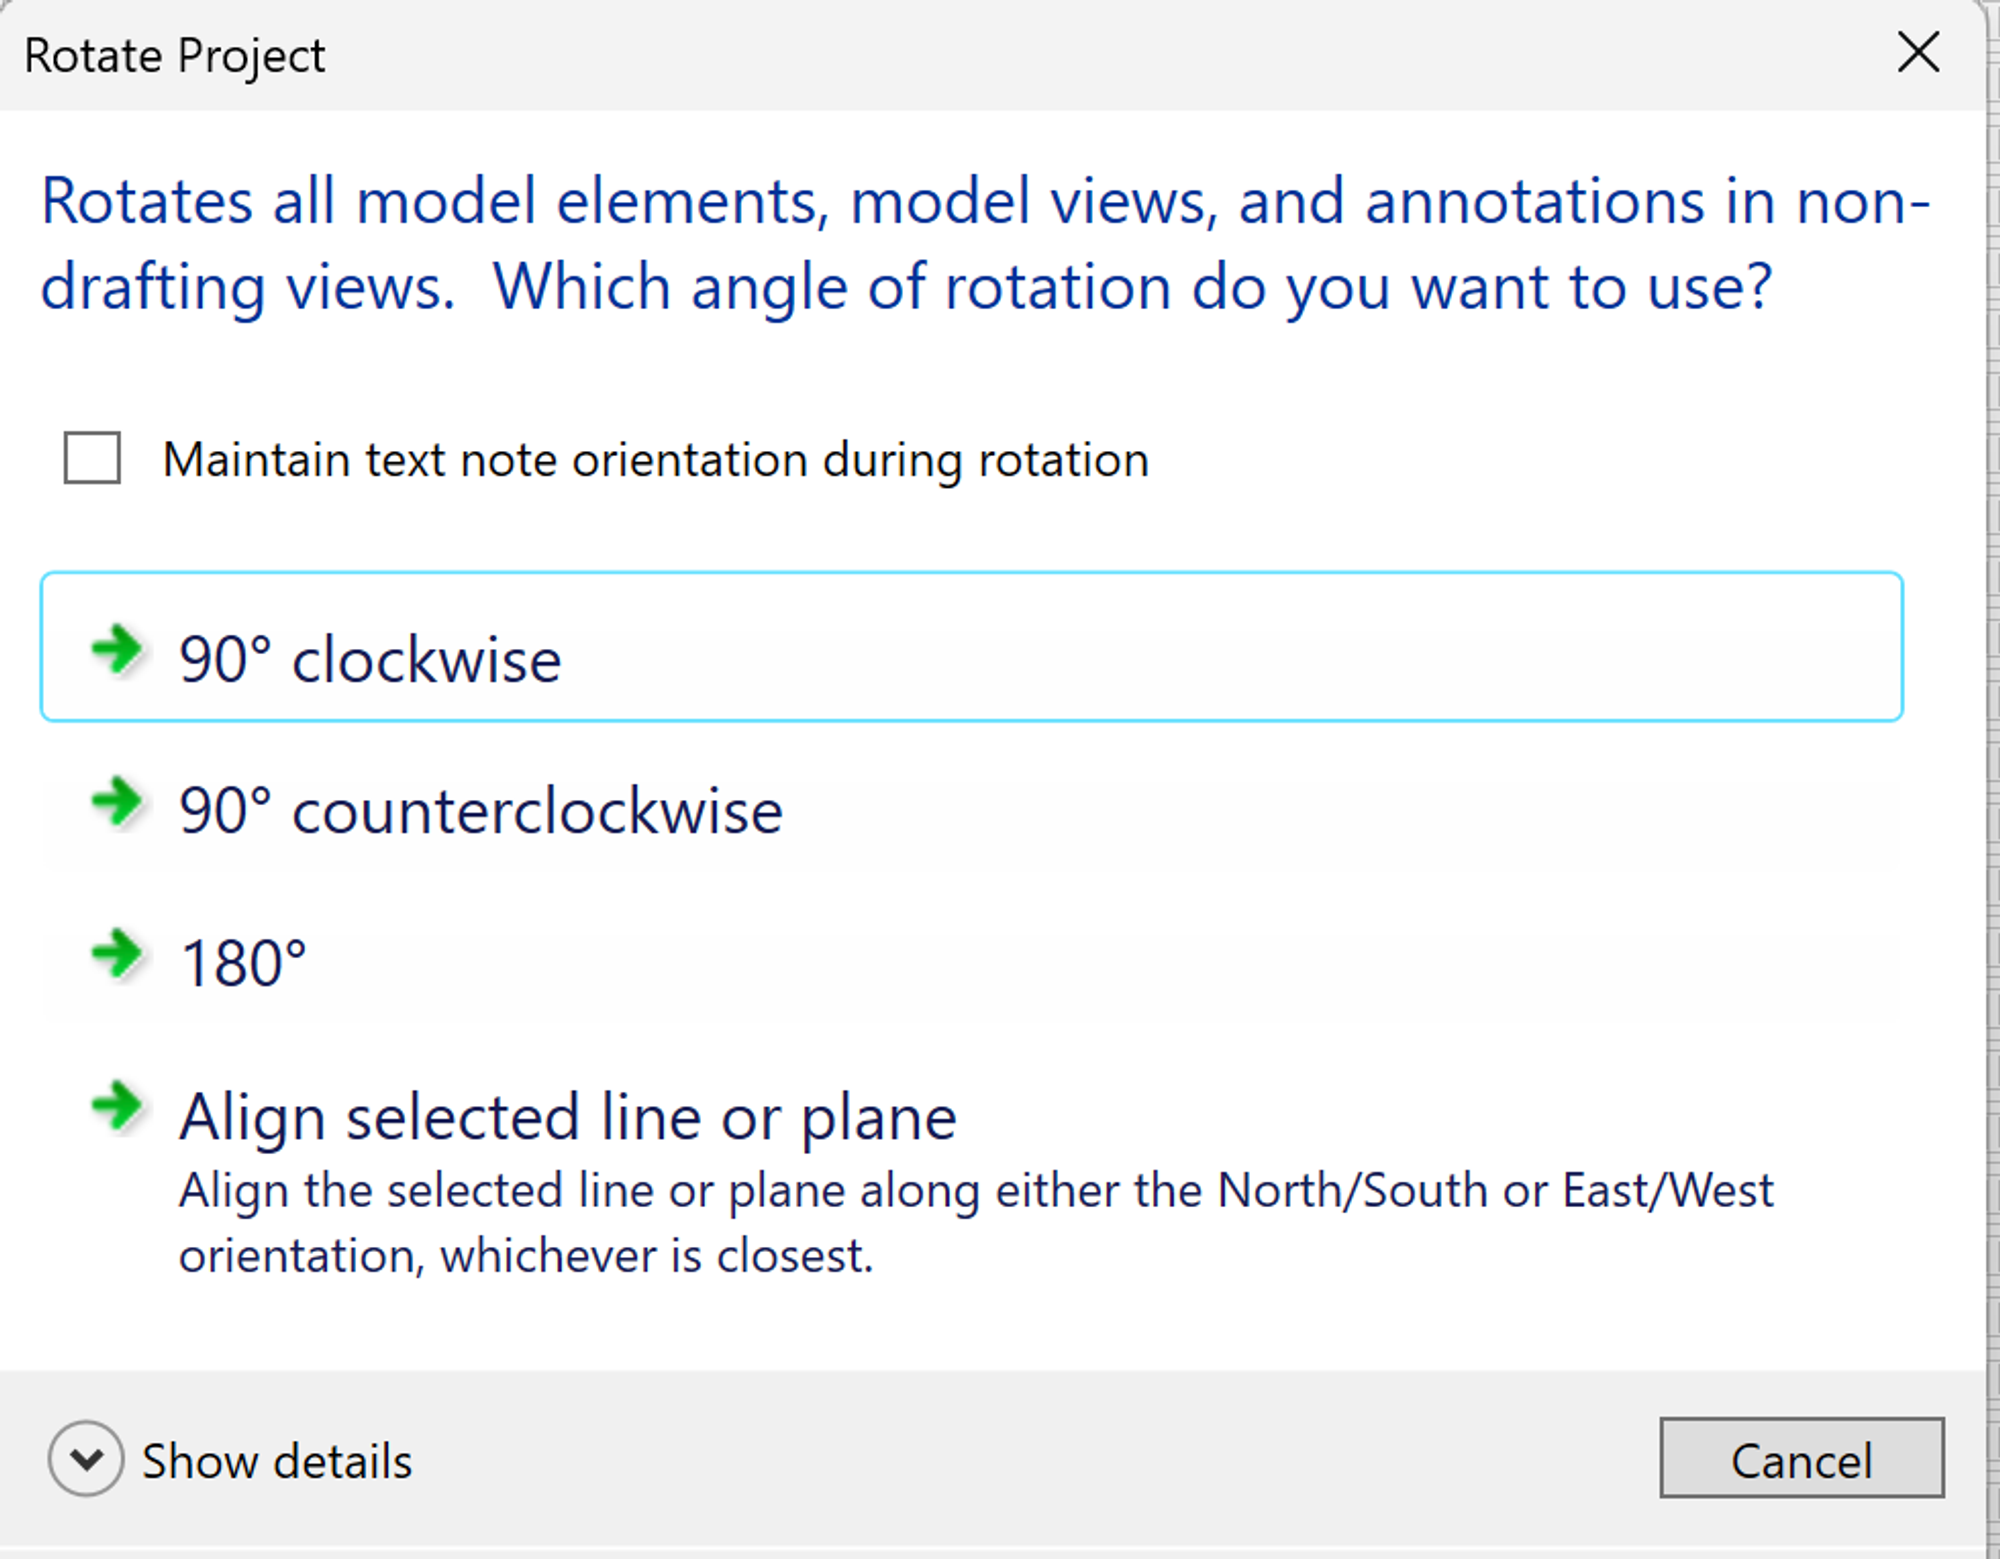
- Open the Manage > Project Location > Rotate Project North tool.
- Use the Align selected line or plane option, then click on the edge of one of the walls that run from the top to bottom of the drawing area to rotate the Revit elements in your model to better align with the drawing area and typical modeling tools snaps.
Step 2: Model the Power System Elements for a Small Portion of Your Building Model
- Place these Power System elements in a small portion of your building model (about 4000 to 5000 SF):
- Power Receptacles / Outlets - be sure to use the MEP versions!
- Power Panels
- Then, create Power Circuits to:
- Add the Receptacles into a power circuit.
- Assigning the circuit to a Panel.
Step 3: Model the Lighting System Elements in the same Small Portion of Your Building Model
- Place these Lighting System elements:
- Lighting Fixtures — be sure to use the MEP versions!
- Switches
- Then, create Lighting Circuits to:
- Add the Lighting Fixtures into a lighting circuit.
- Assigning the circuit to a Panel.
Step 4: Check the Average Estimated Illumination provided
- Place Space elements in the areas where you’ve added Lighting to your building model.
- Create a Space Schedule that includes these Space elements, including these fields:
- Level
- Number
- Name
- Ceiling Reflectance
- Wall Reflectance
- Floor Reflectance
- Average Estimated Illumination
- Check the Average Estimated Illumination for the lighting fixtures provided, and add additional lighting fixtures if needed to achieve these target illumination levels:
Space Type | Target Illumination (Footcandles average) |
Office spaces | 40 |
Classrooms | 40 |
Meeting spaces | 40 |
Exhibition spaces | 30 |
Hallways | 25 |
Restrooms | 18 |
Auditoriums | 7.5 |
Lunch & Break Rooms | 15 |
Retail Spaces | 40 |
Progress Check-In / Documenting Your Design Journey
About Design Journal Entries
You’ll be sharing your ongoing design process and progress with others in our class community through a posting in an online Design Journal using Notion.
Feel free to use whatever format best captures the ideas that you want to share -- text, images, sketches, photos of hand sketches, intermediate models, results of analyses, and so on.
For this class, your design process is as important as the final result.
Post a Design Journal Entry
Create a new posting sharing your Design Journal entry on this linked Notion page:
Your Design Journal entries this week should highlight your design thinking and process in modeling:
- your power system elements
- your lighting system elements
Model Coordination
Publish the latest versions of your architectural, structural, HVAC, plumbing models, and electrical to Autodesk Construction Cloud, then copy these latest versions into your Model Coordination space to explore the integrated design.
- Walk through a merged model view to experience how the architectural, structural, HVAC, plumbing, and power/lighting designs work together.
- Look for any potential conflicts or issues that require resolution.
Weekly Design Project Check-In
Meet with a member of the teaching team to review your progress and share tips about how to proceed.