Videos
Resources to Download
Revit Models


Example - Hot Water Radiators
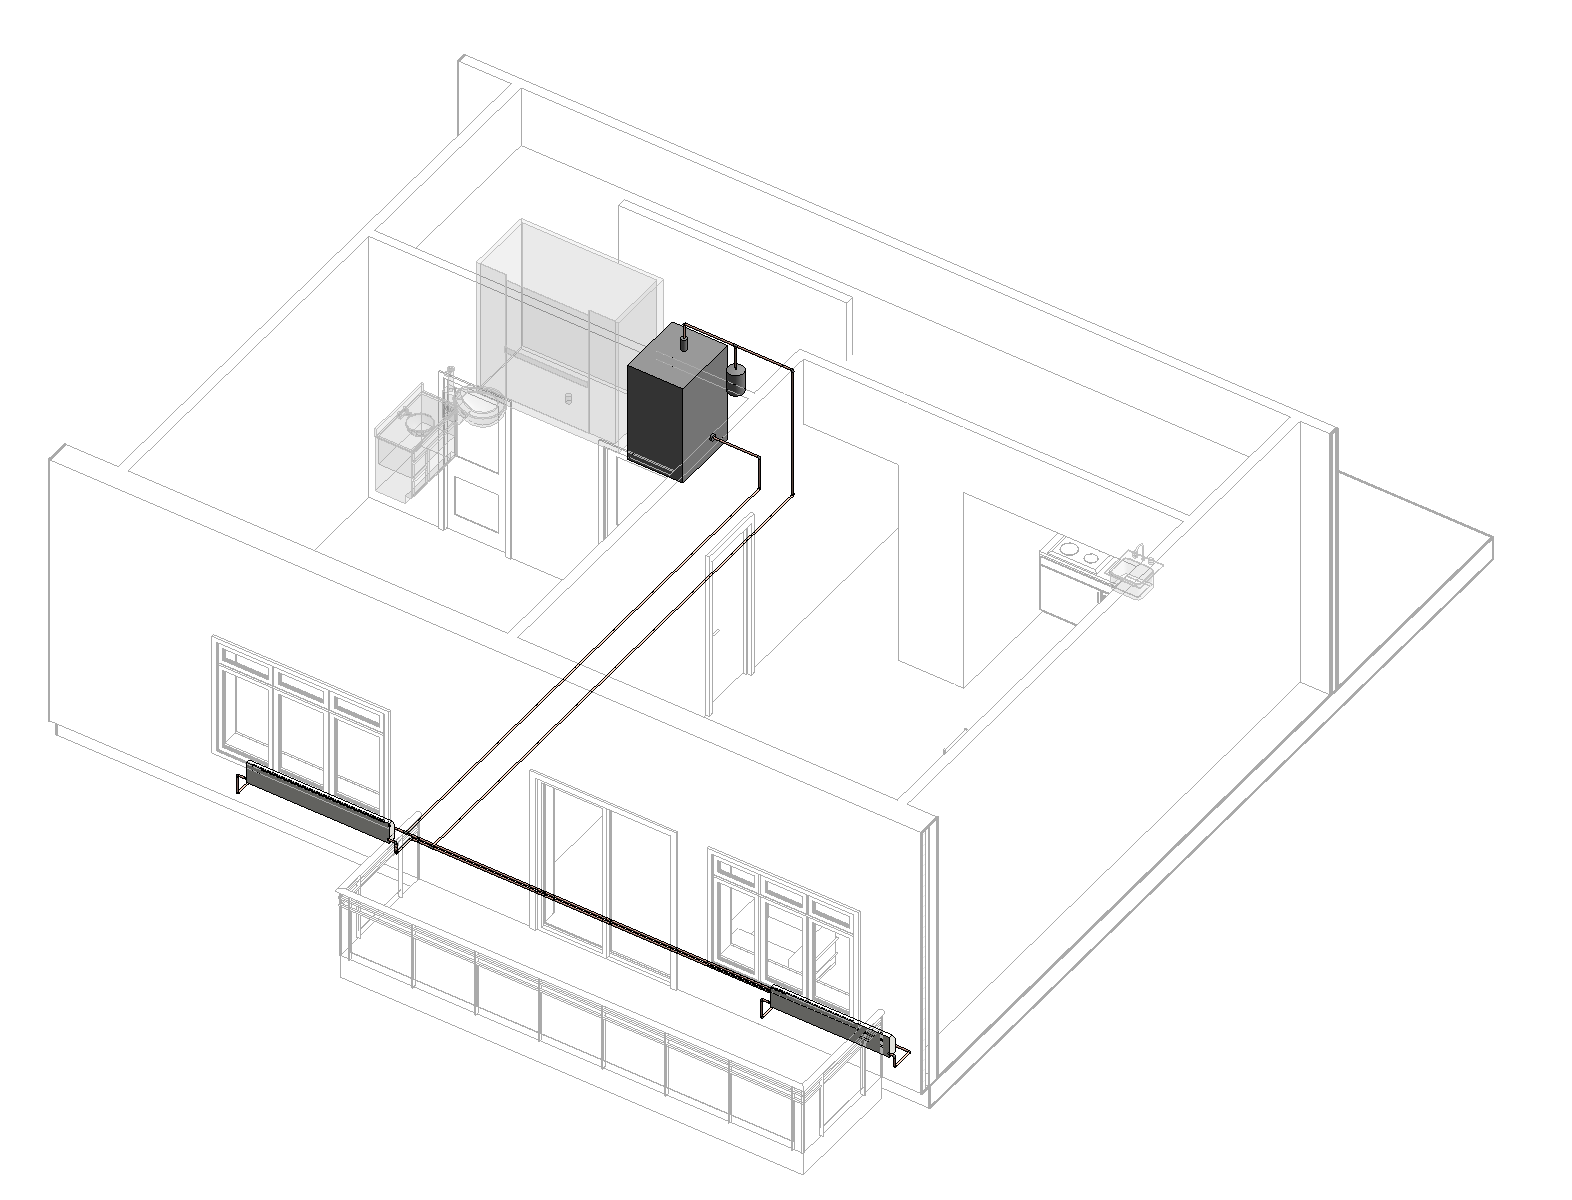
Note: The water heater and expansion tank could be located in a remote location — in a basement or mechanical room.
You can download this file here:
AI Prompts
Creating a Hot Water Radiator System
Prompt | Tool Options
🟢 = Autodesk Asst
🔵 = Revit MCP
🟣 = Python + Dynamo |
Add a hot water radiator system to this residential apartment unit.
Radiators:
• Place wall-mounted radiators along the exterior wall of the bedroom and living areas.
Hot Water Source:
• Route the piping to a water heater in a mechanical room out of view. | 🟣 |
Claude Response
I'll look at the open Revit model to find the unit's rooms, exterior walls and a mechanical space, then place the radiators, water heater and piping.
Radiator and boiler families are loaded. Let me inspect their geometry and pipe connectors before placing.
The door type needed activating; let me check that the partial attempt didn't leave anything behind.
Nothing was left behind. Running the full build with proper rollback this time.
Built. Now verifying connections, systems and warnings.
Everything is connected with zero model warnings. Revit split each loop into several duplicate system records, so I'll consolidate those into one supply and one return system.
Consolidating would orphan some pipes, so I left the systems as Revit made them (all connected, no warnings). Now a visual check.
The hydronic radiator system is now in the model, with all pipes connected and no Revit warnings.
Radiators
- Bedroom: a 6' fin-tube radiator on the exterior wall, centered under the window (about 5,460 Btu/h).
- Living area: a 5' fin-tube radiator under the living-room window (about 4,550 Btu/h). It's shifted slightly east of the window's center so it doesn't run into the lounge chair.
- Both sit about 11" tall, below the 20" window sills.
Mechanical room
- The unit had no mechanical space, so I made one at the back of the walk-in closet. It has a new 4½" partition and a 30" pocket door, matching the existing closet doors.
- To make room, both closet shelving runs are shortened from about 9'-4" to about 5'-10".
- Water heater: the project has no residential water heater family loaded, so I used the loaded Boiler family as a new type, "Water Heater - Hydronic 3/4in". It's against the west wall of the new room. A 2-gallon expansion tank hangs off the supply header beside it.
Piping
- All piping is ¾" copper.
- Supply rises off the top of the heater, crosses overhead inside the mechanical room, then drops into the floor.
- Supply and return then run south below the finished floor, at two different depths so they don't clash. They branch along the exterior wall to each radiator.
- Nothing is exposed in the bedroom or living area. That's also why the piping doesn't show in the L1 plan views; it's visible in 3D or a section.
Worth reviewing
- Combustion and clearances: the room is about 9'-7" × 3'-1". A gas-fired heater will need a sealed-combustion or electric unit, and you should check the manufacturer's service clearances.
- Circulator: none was added, on the assumption that the heater has a built-in pump.
- Pipes in the floor: these run through the 12" generic floor, so confirm that works with your slab or topping build-up.
- Not saved: the model is unsaved, and the whole change is one undo step ("Add hydronic radiator system").