Videos
Workflow
Load MEP Versions of Lighting Component Families
Many useful families are already loaded in the Imperial Multi-Discipline Template.
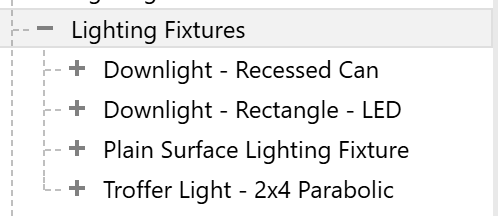
- Load additional families from Library > Lighting > MEP > Internal or External
- Ceiling-Hosted
- Troffer Light - 2x2 Parabolic
- Downlight - Recessed Can or Spot
- Pendant Light - Disk
- Wall-Hosted
- Sconce Light - Uplight
- Free Standing
- Floor Lamp - Torchiere
Place Lighting Components
For guidance about Lighting Fixture Types and Placement:
Lighting Fixtures Types and Placement Guidelines- Open a Lighting Plan view
- Floor Plans look down toward the floor.
- Ceiling Plans look up toward the ceiling.
- Open Systems > Electrical > Lighting Fixture
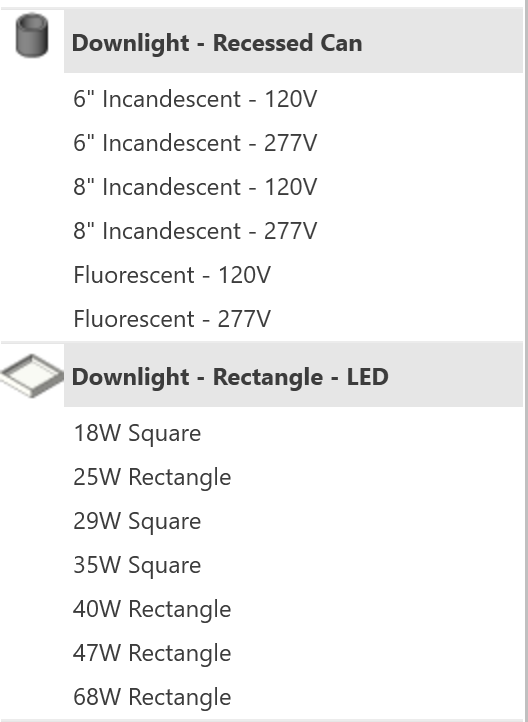
- Choose a Lighting Fixture family from the Type Selector.
- Select the Type based on the features required.
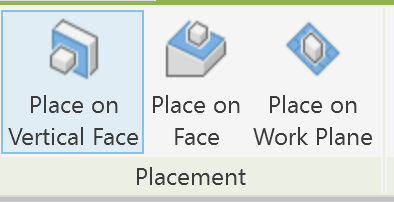
- Choose a placement option in the Ribbon.
- Place on Vertical Face
- Place on Face
- To place ceiling-hosted elements, add a ceiling element to the space.
- Place on Work Plane
- Click in the drawing area to select placement locations.
- Move the cursor over the drawing area.
- Click to place the lighting fixture.
AI Prompts
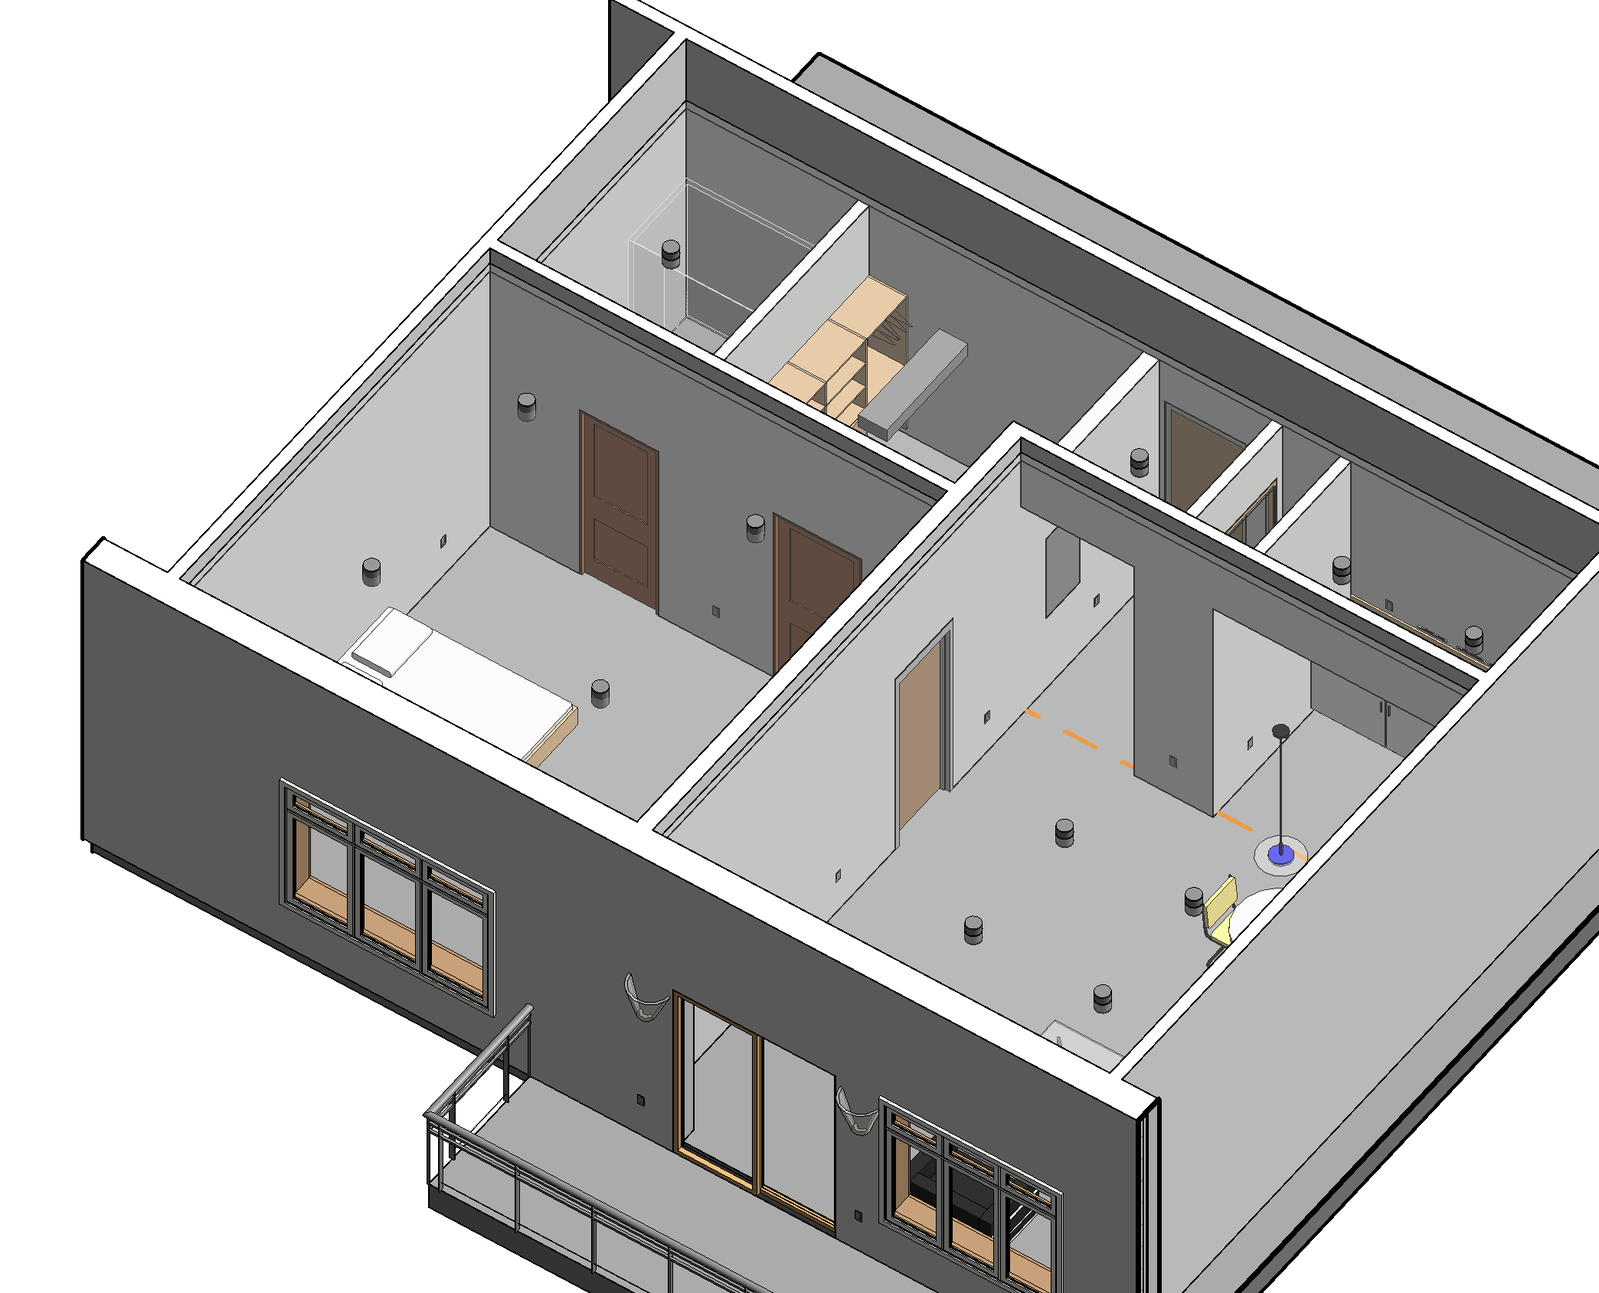
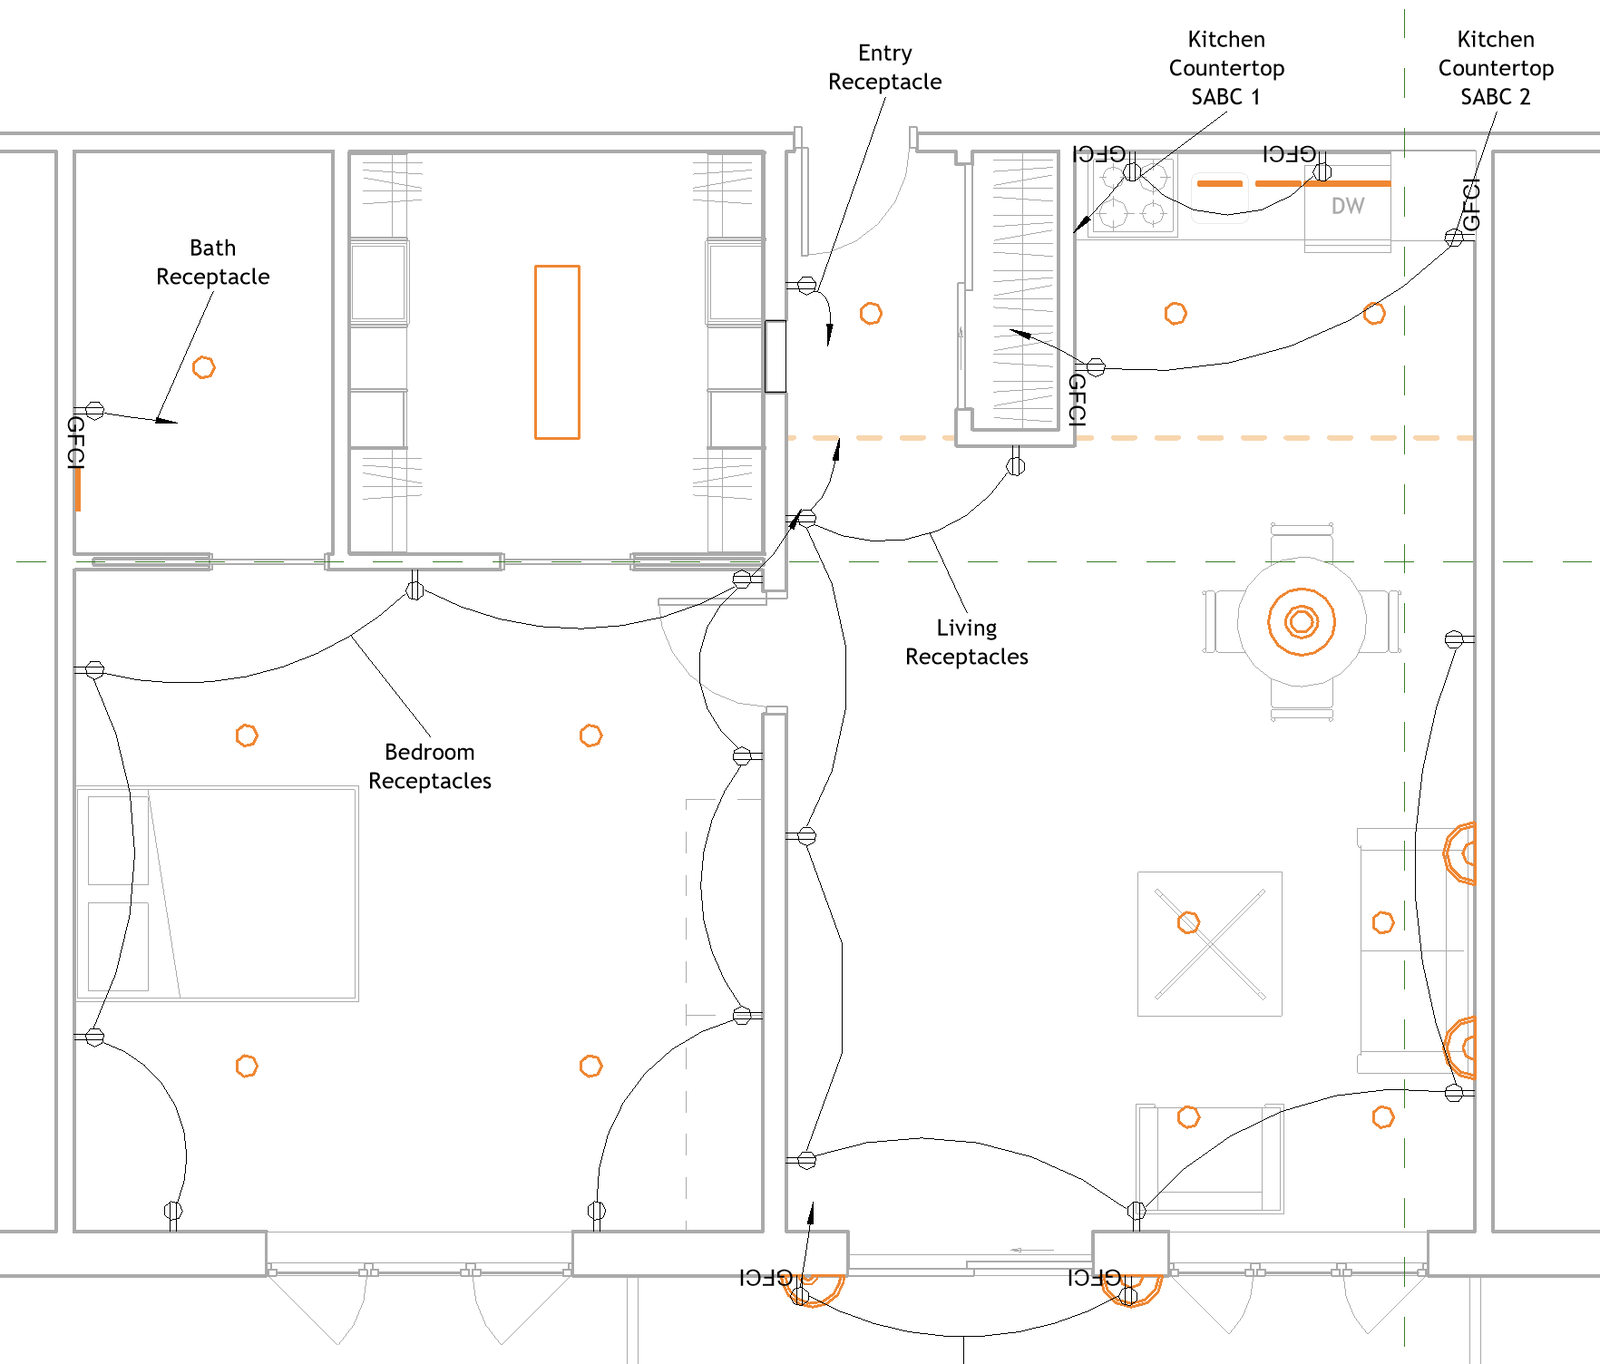
You can download this model file here:

Adding Lighting Fixtures
Prompt | Tool Options
🟢 = Autodesk Asst
🔵 = Revit MCP
🟣 = Python + Dynamo |
Add lighting receptacles to all rooms in this residential unit:
Bedroom:
• Place 4 recessed can lights in the bedroom.
Bathroom:
• Place a waterproof recessed can light in the bathroom.
• Place an LED lighting bar above the lavatory in the bathroom.
Closet:
• Place 1 ceiling-mounted LED panel in the closet.
Living Area:
• Place 2 wall-hosted sconce uplights on the wall behind the sofa.
• Place 4 recessed can lights over the seating area.
• Place a hanging pendant light above the dining table.
Kitchen:
• Place 2 recessed can lights in the kitchen.
• Place undercabinet LED strip lights above the sink, counter, and dishwasher. Do not place them over the range or the refrigerator.
Entry:
• Place a recessed can light in the entry.
Exterior:
• Place 2 waterproof LED sconce lights on the balcony - one on each side of the sliding door.
Use all applicable codes when determining lighting fixture placement locations.
As you work, send me a message after each step saying what you did and what you found. | 🟣 |
Claude Response
I'll connect to Revit, look over the model and its rooms, then place each fixture with code-compliant locations, messaging you after each step.
Now let me pull room boundaries, furniture, plumbing fixtures, doors, windows, ceilings, and walls with their geometry.
Revit 2026+ uses ElementId.Value; retrying.
Step 1 – Model review done. Connected to 261109 Sample Apartment Electrical System (no lighting fixtures yet, 0 warnings). Key findings:
- Rooms (L1): Bedroom 244 sf, Living 292 sf, Closet 89 sf, Bath 56 sf, Kitchen 61 sf, Entry 26 sf, plus a balcony slab outside the living-room sliding door.
- Ceilings: 11'-0" in Bedroom and Living; 9'-0" over the Bath/Closet/Kitchen/Entry strip.
- Fixtures that drive placement: 72"×36" shower (bath north end), 36" vanity on the bath west wall, sofa against the Living east wall, round dining table at the north end of Living, kitchenette with sink, cooktop, dishwasher and refrigerator along the kitchen north wall, closet shelving systems (3' deep) on both sides of the walk-in closet, and panelboard "A" on the Entry west wall. Next I'll check which lighting families are loaded.
Step 2 – Family check done. Loaded lighting families I'll use:
- Recessed cans → Downlight - Recessed Can : 6" - 120V (bath one tagged wet-location listed)
- Closet LED panel → Plain Surface Lighting Fixture : 1x4 - 120 (narrow 1×4 chosen to meet closet clearance rules)
- Sofa sconces → Sconce Light - Uplight : 60W - 120V
- Dining pendant → Pendant Light - Disk : 100W - 120V
- Kitchen undercabinet strips → Downlight - Under Cabinet : 120V
Gaps: there's no dedicated vanity light bar or wet-rated exterior LED sconce family loaded, so I'll use the closest stand-ins (under-cabinet linear fixture for the vanity bar, uplight sconce for the balcony) and tag them in Comments so they can be swapped. Next: confirming kitchen upper-cabinet heights for the undercabinet strips.
Step 3 – Fixture geometry and kitchen check done. Two things affect the layout:
- No upper cabinets are modelled in the kitchen. The under-cabinet family has its light built in at 4'-6" AFF, which is the standard underside of uppers (18" above a 36" counter). I'll place the strips there, about 9" off the back wall.
- The pendant hangs 2'-0" below the ceiling by default. On the 11' living ceiling I'll set the drop to 5'-6", which puts the bottom about 36" above the dining tabletop.
Code rules I'm applying:
- NEC 410.16: closet luminaire clearance from storage space.
- NEC 410.10(D): bath tub/shower zone. No pendants there, and fixtures must be damp/wet listed.
- NEC 410.10(A): exterior luminaires must be wet-location listed.
- NEC 110.26(D): the panelboard working space must be lit.
- IECC: high-efficacy (LED) lamps.
Starting placement with the Bedroom.
Step 4 – Bedroom done. I placed 4 recessed cans on the 11'-0" ceiling (host ceiling 1298437) in an even 2×2 grid at the quarter points of the room, roughly 8' apart each way. The grid gives uniform coverage, and none of the cans sits directly over the pillow end of the bed. Next: Bathroom.
Step 5 – Bathroom done.
- Wet-location recessed can: placed on the 9'-0" ceiling at the room centre, between the toilet/vanity area and the shower. It sits about 2' from the shower threshold, inside the NEC 410.10(D) zone (3' horizontally / 8' vertically from the threshold). A wet-listed recessed can is permitted there; a pendant or fan would not be. It's tagged "WET LOCATION LISTED" in Comments.
- Vanity LED bar: wall-mounted on the west wall, centered over the 36" lavatory at 6'-6" AFF (above the typical mirror) and turned to run parallel with the vanity. It's outside the shower zone but tagged damp-location listed.
Caveat: the stand-in under-cabinet family is a fixed 1'-0" long. A 24"–30" vanity bar would suit the 36" lavatory better, and I noted that in Comments. Next: Closet.
Step 6 – Closet done. I placed one surface-mounted 1×4 LED panel on the 9'-0" ceiling. It's centred in the aisle between the two 3'-deep closet shelving systems and runs the length of the closet.
Under NEC 410.16, the storage space extends 24" or the full shelf width (here 3'), whichever is greater. The panel clears that space by 1'-4" (16") on each side, more than the 12" required for a surface LED with an enclosed lens. A 2×2 panel would only have cleared about 10", which is why I chose the 1×4. Next: Living area.
Step 7 – Living area done.
- 2 wall sconce uplights: hosted on the east wall behind the sofa, about 1' in from each sofa end, at 6'-0" AFF to centre. That's well above the sofa back (≈2'-0") and keeps the bulbs above seated head height.
- 4 recessed cans: placed on the 11' ceiling in a 4'-6" × 4'-6" grid centred over the sofa, chair and coffee-table group. They're held 2'+ off the sconce wall so they don't wash out the uplighting.
- Dining pendant: centred over the round table. I created a new type, Pendant Light - Disk : 100W - 120V - 5'-6" Drop, so the base type is unchanged. The bottom of the fixture sits about 36" above the tabletop.
Next: Kitchen.
Step 8 – Kitchen done.
- 2 recessed cans: placed on the 9' ceiling about 1'-9" in front of the counter edge, splitting the kitchen run. This keeps your body from shadowing the work surface.
- 4 under-cabinet LED strips (1' units) at 4'-6" AFF, about 9" off the back wall:
- 1 over the sink
- 1 over the counter between the sink and dishwasher
- 2 over the dishwasher
The run stops 0.47' short of the cooktop edge and 0.02' short of the refrigerator edge, so nothing sits over the range or fridge. The same reminder applies here: no upper cabinets exist in the model, so these strips will float until uppers are added. Next: Entry.
Step 9 – Entry done. I placed one recessed can on the 9' ceiling, centred east–west in the entry. It's nudged slightly south, toward panelboard "A" on the west wall. That keeps it outside the panel's dedicated equipment space (directly above the panel, NEC 110.26(E)) while lighting the 30"×36" working space in front of it, which NEC 110.26(D) requires. It also stays clear of the entry door swing. Next: balcony.
Step 10 – Balcony done, and the whole layout is verified.
- Balcony sconces: 2 placed on the exterior face of the wall, one each side of the 68" sliding door, symmetric about the door centreline at 6'-0" AFF. Both are tagged wet-location listed (NEC 410.10(A)).
- Verification: all 23 fixtures fall in their intended rooms, sit on the correct ceiling or wall face, and clear each other.
- One clash: the balcony sconces overlap the sliding-door frame, and the east one also overlaps the window trim. The cause is the stand-in sconce family, which is 17½" wide; the wall between the door frame and the window trim is only about 15". A real exterior sconce 12" wide or less, centred where I put these, clears both.
All 23 fixtures are placed in the model; it isn't saved yet.
Room | Fixtures |
Bedroom | 4 recessed cans |
Bath | 1 wet-listed recessed can, 1 vanity bar |
Closet | 1 surface 1×4 LED panel, 16" clear of the shelving each side |
Living | 2 sconce uplights behind the sofa, 4 recessed cans over the seating, 1 pendant over the dining table |
Kitchen | 2 recessed cans, 4 under-cabinet strips over the sink, counter and dishwasher (none over the range or fridge) |
Entry | 1 recessed can, also lighting the panelboard working space |
Balcony | 2 wet-listed sconces, one each side of the sliding door |
Things to sort out before issue:
- Balcony sconces clash. They overlap the sliding-door frame, and the east one also overlaps the window trim. The stand-in sconce family is 17½" wide, but the wall between the door frame and the window trim is only about 15". An exterior sconce 12" wide or less, at the same points, would clear both.
- Stand-in families. No vanity bar or exterior sconce family is loaded. I used the under-cabinet strip for the vanity bar, which is only 1'-0" long; a 24"–30" bar would suit the 36" lavatory better. I used the interior uplight sconce for the balcony. Both are flagged in Comments for swapping.
- No upper cabinets. The kitchen has no uppers modelled, so the strips sit at the usual underside-of-uppers height (54" AFF) with nothing above them.
- Can type names. The only can family loaded is labelled "6" Incandescent". The Comments specify LED, IC-rated and airtight, which the energy code expects, but you may want to rename the type or load an LED can.
- Duplicate ceilings. The Bedroom has two identical 11' ceilings (1298437 and 1298471).
Want me to save the model?
Claude Spreadsheet Summary of Fixtures Placed
I'll build a fixture schedule spreadsheet from the placement results.
I've made the spreadsheet from the lighting layout. It has two tabs:
- Fixtures: one row per room and fixture group, with quantity, family and type, mounting location, height, the code note and the Revit element IDs. The total row adds up to 23 fixtures.
- Open issues: the follow-ups I listed, each with the elements it affects and what to do about it.
You can download it as an .xlsx from the page if you need to send it on.
Troubleshooting: If a Lighting Fixture Doesn’t Appear “Inside” a Space
Setting the Room Calculation Point for a Lighting Fixture

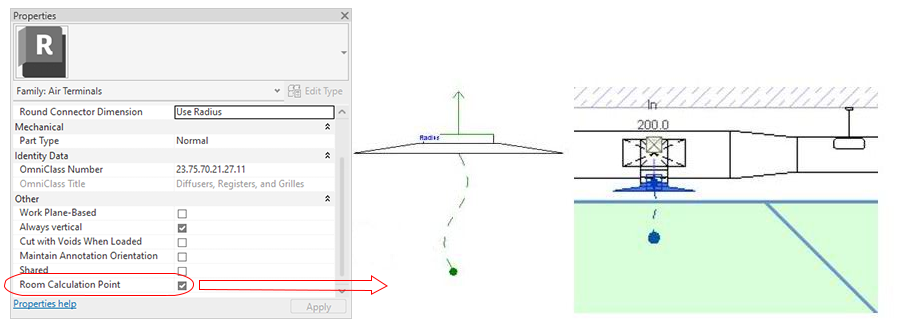
Since the room calculation point specifies which space the lighting fixture is in, it is also reflected in schedules. For example, if you include a column in the schedule with Space data, such as name and number, the space dictated by the room calculation point will be used.