Working link to your Revit cloud model in Forma Data Management
https://acc.autodesk.com/docs/files/projects/ed1e58c6-fadc-4e94-bc27-96f8725f2c8a?folderUrn=urn%3Aadsk.wipprod%3Afs.folder%3Aco.5TGp0IfSReuGASeVe9h7jw&entityId=urn%3Aadsk.wipprod%3Adm.lineage%3A-SVhECLbSu2EJ14XaHI9jg&viewModel=detail&moduleId=folders
Working link to your Individual Forma Board
https://acc.autodesk.com/docs/files/projects/ed1e58c6-fadc-4e94-bc27-96f8725f2c8a?folderUrn=urn%3Aadsk.wipprod%3Afs.folder%3Aco.5TGp0IfSReuGASeVe9h7jw&entityId=urn%3Aadsk.wipprod%3Adm.lineage%3A-SVhECLbSu2EJ14XaHI9jg&viewModel=detail&moduleId=folders
PDF sheet set, 30 by 42 inches (E1 size)
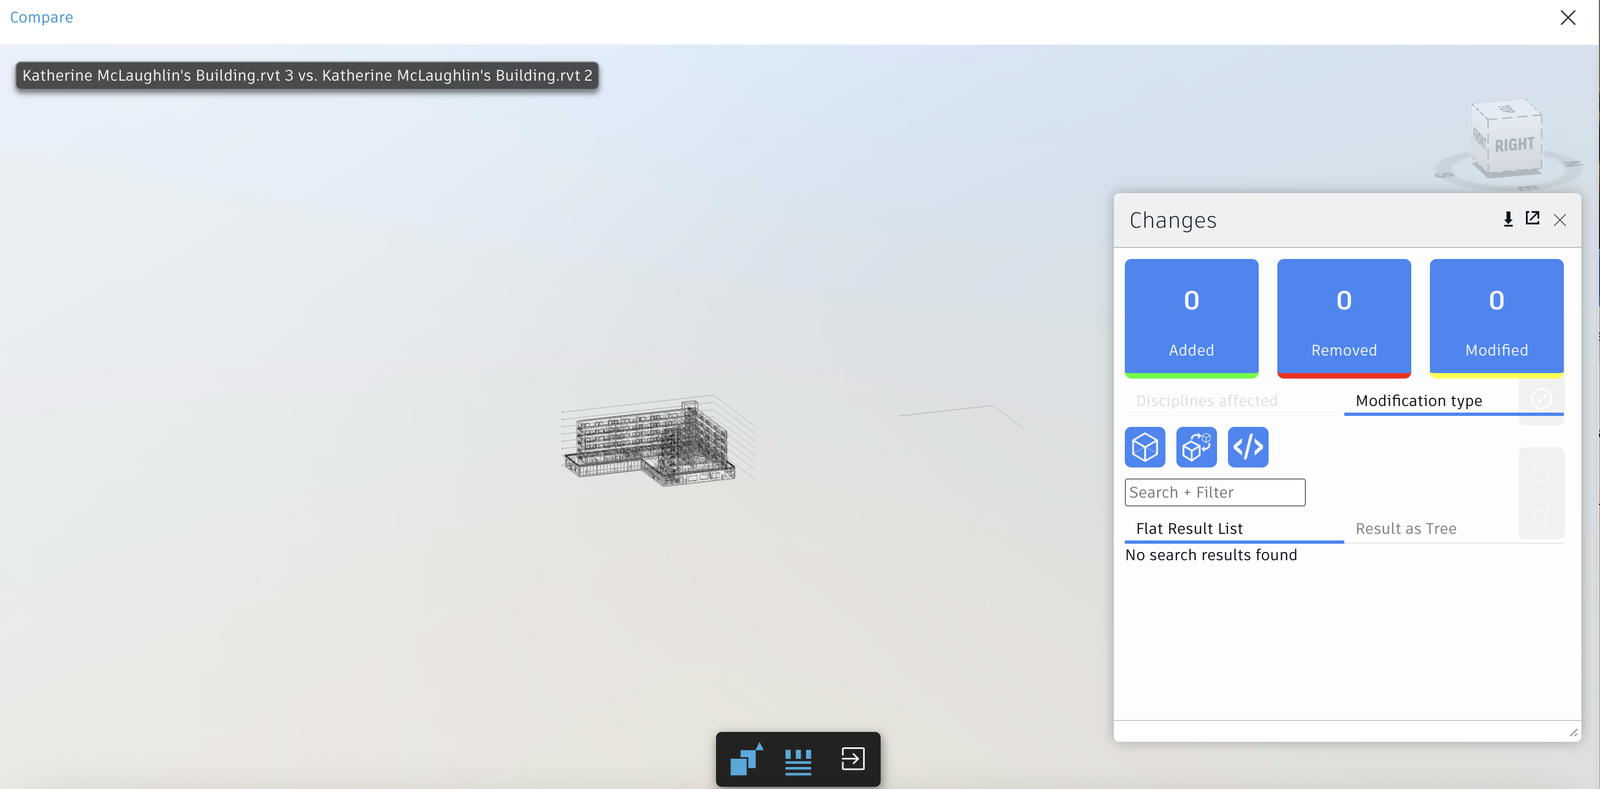
A screenshot of Forma Data Management showing your two published versions side by side for comparison.
Note: Because I uploaded my Module 4 version into the Module 4 folder in Data Management, I cannot compare that older version to my most up to date one which exists separately in the Module 5 folder. I included this screenshot between two alike Module 5 versions regardless, in order to show that I know how to use the software… I just can’t get around this issue where my versions existing in different folders and so cannot undergo direct comparison. I went to office hours to confirm that this would be an okay approach for this piece of the assignment! Thank you for letting me know if there is a better way to resolve this.
Design memo of 250 to 400 words: what your calculated field computes and what it told you, and what you learned about your own design from having to document it.
Throughout this process and especially while implementing schedules I learned about the importance of streamlining the design process across both Forma and Revit… i.e. order of operations and method matters. For example, I found that I had tons of unique window types, despite all of them sharing many similarities. I could have re-used certain facade components to make both my design process easier and my documentation/communication process far clearer in my schedules. I also learned how time consuming but worthwhile it is to address organizational and cleanliness aspects of my sheets. In order to do this I hid many categories such as grid lines, section marks, and elevation marks. I also made sure to override certain distracting patterns in visibility graphics in order to ensure a legible view in my floor plans. Through trial and error (some of which remains unresolved as noted below), I discovered the necessity of creating rooms within a unit prior to adding furniture. Once adding furniture and ceilings, I began to understand a lot more about the trajectory of the building, its interior space, facades, and plumbing fixture/lighting elements. I finally added railings onto the second floor terrace in order to ensure safe access from second floor balcony doors. Throughout the process I continue finding oversights and things that I would do differently in the future. For example I discovered that I do indeed have one corner unit that is without any windows despite my intention to avoid this. While developing one of my commercial spaces in this module, I finally began to see how the unique elements of the ground/first floor come into play… those elements being the open space, large rooms, curtain walls, and garden access. I decided to go ahead with designing a brewery including entertainment areas, plentiful bar style seating with a more secluded area available on the other side of the walls enclosing the stairs, and three private bathrooms.
Note: I had a problem with overlapping and confusing rooms in my developed/furnished residential unit… this being specifically with the central unit “1 Bedroom” tag getting confined to one room such as Kitchen or Living Room. I was unable to resolve this in office hours but will hopefully be able to get there at some point later this week or next.