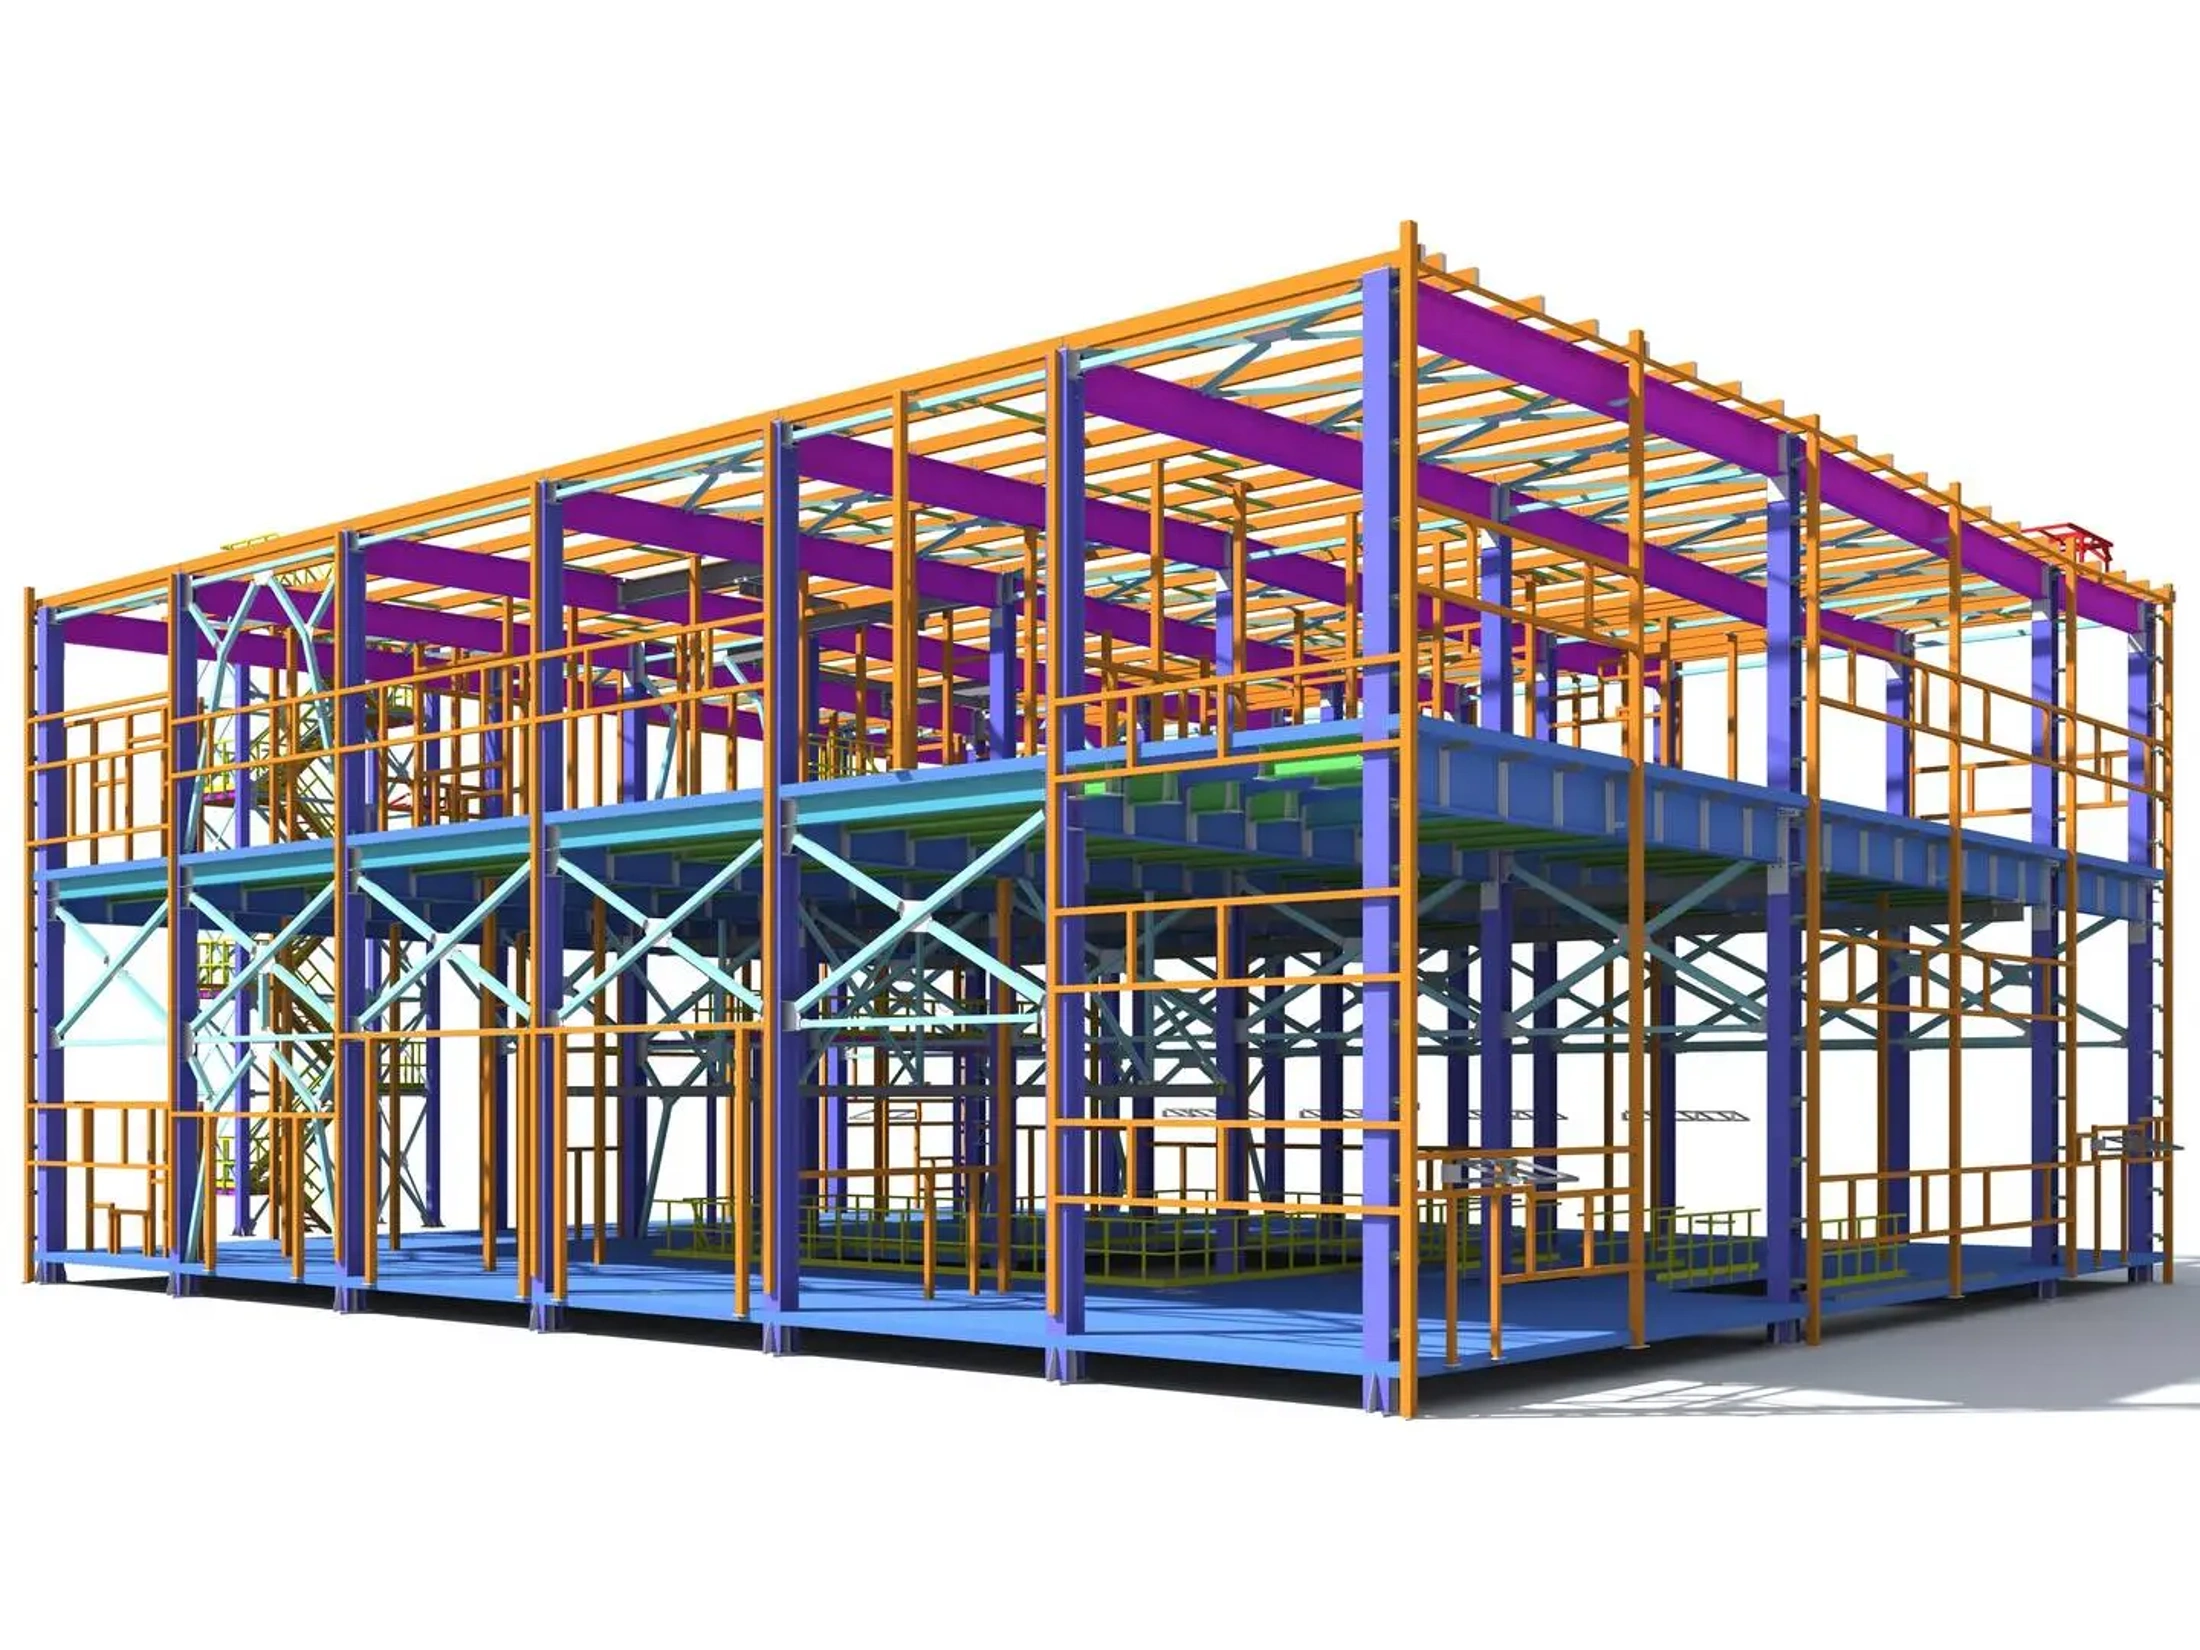
Module 6 — Design Project Brief:
Workspace of the Future
Overview
In this assignment you’ll design a new multi-story building of a much larger scale – a commercial office building in an urban area. The focus of this assignment is on:
Learning to explore and develop a design using performance feedback using the Autodesk Forma web tool.
Using the conceptual model that you create in Forma to quickly model the essential features of the building shell in Revit.
The point of this assignment is to quickly generate and explore design ideas — keeping in mind the program requirements.
Autodesk Forma and Revit conceptual masses are two great tools for quickly exploring design ideas. And this assignment will give you the chance to experiment with how to create a design using them to inform your design decisions.
You’ll complete this assignment in three parts:
Part I - Creating Massing with Meaning using Autodesk Forma
Part II - Converting Masses to Building Elements using Revit
Part III - Sharing Your Proposed Design
Getting Started
You can use this Revit file hosted in our ACC project as a starting point file for this assignment:
Or, if you prefer, you can use one of Revit’s template files. Of those, the Default or Commercial template is probably the best starting point to use.
Design Approach
For larger scale buildings, we often begin the design process by exploring very high-level design decisions (including the overall shape and orientation of the proposed building) by looking at options for how the program requirements for creating a needed amount of space can be addressed within the constraints and taking advantage of the unique opportunities available on the project site.
You can think of this approach as top-down or outside-in. Either way, the point is to make informed choices about the big, impactful design decisions early on – saving decisions about the smaller design details for a later iteration/design phase.
New tools are available that help us analyze and compare many aspects of potential design options to inform our design decisions, and we’ll be using one of them — Autodesk Forma — to help design several options for a specific site and choose the “best” option to move forward with based on the analysis feedback.
Background
Your client – the fast-rising social media company TwitBook – has asked you to propose a design for a new commercial office building or a campus of smaller buildings to meet the needs of their employees and of their expanding business. To enhance the creativity of their young workforce, they’re looking for a very dynamic, fluid series of workspaces that will encourage informal meetings, spontaneous collaboration, and employee well-being.
TwitBook has asked you to create a space that’s a bit different and more daring than the somewhat classical design of most office buildings. This project should be a landmark building that clearly reflects their forward-thinking vision and the cutting-edge work that their employees are doing.
Design Program
Your task is to come up with a proposed design for this new office building or campus.
Your design should include approximately 220,000 to 250,000 SF of useable floor area.
Although you won’t be designing the interior spaces in detail for this assignment, you can imagine that they would include:
Workspaces -- a mix of walled offices, cubicles, and open workspaces.
Lots of meetings rooms and informal collaboration / project spaces
A welcoming lobby space for clients and guests with many conference rooms nearby for meetings and seminars
Cafe spaces where employees can get some food or coffee right in the building.
Informal kitchenette / lounge spaces strategically placed near work areas
Other amenities to support employee wellness
Gym / workout areas
Locker room space for bikers and runners
A day care center
Open exterior spaces -- for example, terraces and patios -- to take advantage of the favorable natural environment and boost employee productivity
In addition to these programmed spaces, you’ll also need to provide space for the building infrastructure and utilities to support the building users. These spaces typically add about 20-25% to the total building area (bringing your total floor area up to around 264,000 - 312,000 SF).
What’s Expected
‣
Part I — Creating Massing with Meaning using Autodesk Forma
‣
Step 1: Ensure you have access to Autodesk Form and our Hub
You have been enabled with access to our Forma Hub via ACC. Check you have access to the Forma Project Fall 25 -CEE 120A_220A in the link below,
Step 2: Join one of the Sites available in the Project
In our Forma Project, access one of the three Sites available. You will be using this Site for this and the following three Modules.
Click the Projects link from the left navigation bar in the Forma web interface.
💡
You’ll be presented with a list of 3 potential site locations to work with:
- 2025 - San Francisco
- 2025 - Phoenix
- 2025 - Boston
‣
Step 3: Open the Site for the location that you’d like to work with
Choose a Site from the list of available project locations. The site options include:
Phoenix
San Francisco
Boston
💡
Note: for each site, a common Base background has already been set up for you with contextual data intended to be use across all Proposals, and includes:
Building Geometry showing the heights and locations of various buildings directly around your site)
Road data
Topography data
Your Building Site boundary (shown in dark red)
The Base Site layers are intended to be used as referenced geometry across all Proposals. DO NOT EDIT the Base Site Layers
When you open the Project, you may receive a warning about using an Incompatible Browser (if you are not using Google Chrome as your browser).
Most features of Autodesk Forma will work in other browsers (for example, Safari). For the best experience, we highly recommend using the Google Chrome browser.
‣
Step 4: Create Three New Conceptual Design Proposal
‣
Duplicate the Proposal Template three times to create your new Proposals
Find in the proposal named “DUPLICATE TEMPLATE”.
💡
The list of proposals are sorted by creation date, so the DUPLICATE TEMPLATE may be near the bottom of the list.
DO NOT EDIT or rename this template. It is the shared starting point for every student’s proposals.
Click the three-dot menu at the corner of the proposal name, and choose Duplicate to create your new Proposal.
💡
Your new Proposal will be created at the top of the list.
Select your new Proposal and click the three-dot menu, then choose Rename
Rename your proposal using a unique name using this form:
LastName_FirstName_Proposal# — for example, Escalante_Cesar_Proposal1
Escalante_Cesar_Proposal2
Escalante_Cesar_Proposal3
💡
It’s important to include your name in your Proposal names to make them easy to sort, select, and grade. The list of Proposals will grow very long as many students complete the assignment.
‣
Open each of your Proposal sand edit it by adding new Building Forms
Select your new Proposal in the list.
💡
The contextual layers of your Proposal will be displayed consistently in each proposal, including:
Site Limits
Terrain
Buildings
Roads
For each proposal, design a unique conceptual proposals, using the following principles
Proposal 1: Practical Design Concept
Design a building mass concept using simple rectangular box shapes as the primary forms. Focus on straightforward geometry, clear organization, and efficient spatial planning. These box shapes should be stacked, aligned, or arranged to maximize usability and adaptability for future course modules.
Start your massing with classic box volumes to achieve a timeless, functional appearance
Stack, shift, or nest rectangular volumes to create structure and clear circulation
Ensure proportions and placements make sense for typical urban program needs
Proposal 2: Imaginative Landmark Concept
Design a building mass concept using expressive forms and advanced boolean operations with Forma’s 3D Sketch tools. Explore flowing, dynamic forms—merge, subtract, or intersect geometry to achieve an inventive landmark shape. Creative prompts:
Start with basic rectangular shapes, but explore the use of curves, arcs, and organic edits
Use boolean operations (union, difference, intersection) to blend, carve, or fuse your forms in unexpected ways
Let the result evoke something unique—perhaps the company’s logo, a futuristic vessel, or a nature-inspired profile
Here, the goal is to experiment boldly.
Here are some examples of some noteworthy building forms in the news for inspiration:
Analyze each of your proposals with 3 analysis types
Choose the Analysis type that you’d like to run from the options available in Forma’s Analyze Palette.
💡
Each of the buttons opens an options panel in the Analyze Palette where you can refine the analysis settings or view the results.
Forma Analysis Types:
Sun Hours
Run an analysis for four different dates (March 21, June 21, September 21, and December 21). Use the + sign to add new dates.
View the analysis results for each of the dates.
Observe where sun is hitting the surface and where you are shading neighboring buildings. You will be using this information to help decide on your preferred building form.
Close the sun hours analysis by clicking the back button in the top left corner of the window.
Daylight Potential
Measures the amount of indirect light on building surfaces
Run an analysis.
View the analysis results for each of the dates.
Observe
Close the analysis by clicking the back button in the top left corner of the window.
Wind
Rapid Wind Analysis
Instant AI-based simulation available directly in the canvas.
Provides quick visualization of wind flow patterns around buildings and sites.
Outputs: Wind Direction/Speed and Wind Comfort heatmapon the ground.
Best for early-stage design decisions where speed matters more than accuracy.
Detailed Wind Analysis (>60 min to process)
More detailed, computational fluid dynamics (CFD)-based simulation. Takes about 60-90min to process.
Includes metrics like wind comfort, velocities, and turbulence around pedestrian areas.
Outputs: Wind Direction/Speed as 3D vectors and Wind Comfort on the ground and roofs.
Higher accuracy for compliance, safety, and performance validation.
Microclimate
Microclimate = localized climate conditions at the site level (temperature, wind, solar, humidity).
Combines wind, solar, daylight, and local weather to predict the temperature at the ground level.
Outputs: Visual heatmaps of temperature
Helps evaluate shade, airflow, and cooling strategies early in design.
Noise: Two types of noise analysis coming from vehicular traffic and railroads
Rapid Noise Analysis
Runs almost instantly.
Output: Heatmap prediction of decibels at ground level
Best for identifying overall noise exposure zones at a conceptual level.
Full Noise Analysis (>10 min to process)
Runs a more detailed simulation with precise parameters.
Output: Heatmap prediction of noise exposure on the ground and over the building surfaces.
Generates higher-accuracy results suitable for compliance checks and stakeholder presentations.
💡
The rapid and detailed noise analysis requires noise data associated with the road centerlines. The teaching team has manually added these variables to the roads, including Traffic Noise Data (Speed, Average Daily Traffic) and Traffic Distribution (Day, Eve, Night). You do not need to worry about these setups.
Solar Energy
Predict the sun radiation on building surfaces and an estimate the annual potential electricity production from solar panels.
Informs daylight access, solar heat gain, and renewable energy potential.
Output: Visual heatmaps solar radiation energy received on buidling surfaces expressed in kWh/ m².
Helps identify potential PV panel locations or areas with risk of overheating.
Confirm that the entire Site Context is included in the analysis
Click the Selection button in the Analyze palette and make sure that the “Entire Model” area is highlighted in blue.
💡
If the Entire Model is selected properly, the area and surrounding buildings will be highlighted in blue.
Wind, Microclimate & Noise analysis are displayed in circular boundary. Pick Custom Circle and choose a point and a radius to the center of your project building.
Close the Select Analysis Areas dialog (using the X button) to return to the Analyze palette.
‣
Review the Results for Each Analysis of this Design Proposal
After each analysis is completed, click the Open Analysis button to view the results of your analysis for this Design Option.
‣
Step 5: Compare Your Proposals
Use Forma's Compare tool to view the results of the analyses performed on each proposal side-by-side.
Open the Compare tool located at the Top Navigation Bar
Click the + sign on the Main View or Drag and Drop one of your Proposals from the list of analyses listed under the proposal history.
34b0c21dc4a7821f8e808126ed7b4db8
💡
The analysis results will be displayed in the comparison viewing area.
Repeat the steps to add another analysis for comparison: Click the + Sign on the Main View, or drag and drop an analysis from the proposal history.
Repeat these steps to display comparable analyses for each of your three Proposals side-by-side in the comparison viewing area.
💡
You can always go back to the ‘Site Design’ space (Top Bar dropdown) and adjust any assumptions and tweak the analysis (e.g., change the date of the analysis period).
💡
To open/close the Settings panel for each of the analyses, click the right arrow button that appears when hovering over the right edge of the panel.
‣
Step 6: Post the Comparison of Your Analysis Results
Save a screenshot showing the side-by-side comparison of the analysis results and paste this screenshot into your Notion posting.
Your Notion posting should include the images of the side-by-side comparisons of at least 3 of the analyses you performed on your Proposals.
‣
Step 7: Select the Proposal that you deem as the most environmentally friendly
Select the Proposal that includes the “Best” design option — based on your assessment of the analysis results.
Post a brief explanation of why you chose this option in your Notion submission.
‣
Part II — Converting Forma Masses to Building Elements using Revit
‣
Install the Forma Add-in for Revit
‣
Option 1 — If you can install software on your computer
Forma allows you to send a proposal into Revit using a plug-in. You can install the plug-in from a couple of places:
The plug-in installation file is available in the Autodesk Store. Sign-in using your Autodesk credential, download and run the .exe file.
The plug-in installation file is also available In Forma, under the 3-dot menu of a proposal. Run the .exe after the download is complete.
💡
IMPORTANT NOTE FOR MAC USERS
If you’re using Autodesk Forma on a Mac, be sure to switch to your Windows environment (for example Parallels or Bootcamp) and open Autodesk Forma in Google Chrome in Windows — before using the Send to Revit command.
Revit will be looking for the exported Proposal in a specific Windows folder, so you need to issue the command from within your Windows environment.
‣
Option 2 — If you cannot install software in your environment
💡
If you’re working in a Virtual Environment that will not allow you to install new software — for example, Stanford Apporto virtual desktop — you won’t be able to install the add-in.
Please use one of these options:
- Send your Autodesk Forma proposal to Revit using on the computers available in Y2E2 184. These computers have the Forma Revit Add-In installed. You’ll only need to complete this one step on these computers. After the proposal is imported to Revit, you can upload the Revit file and continue working in your usual environment.
- If you cannot use the computers in Y2E2 184, please contact the teaching team and request their assistance in sending your Forma proposal to Revit. They can complete the import and share the Revit file for you to continue your work.
‣
Send your Proposal to Revit
In Forma, select the proposal you tagged as “Practical Design Concept” from the previous steps.
💡
This proposal should be a straightforward, stacked, orthogonal building. This approach would help moving along faster in the rest of the coursework
Click on the 3-dot menu on the proposal, and select “Send to Revit”
‣
Import a Proposal from Forma into a Revit project
‣
Open or create a new Revit project
Open and use this Revit project as a starting point file for importing your Forma proposal
Or, if you prefer, you can use one of Revit’s template files to create a new Revit project. Of those, the Default or Commercial template is probably the best starting point to use.
‣
Set up the Revit modeling environment
Switch to a 3D View and remove all Level, except the ground level 1
Rename Level 1 as “Sea Level”. In the dialog box, accept renaming existing view.
Clean your 3D view from unwanted elements, like Scope Boxes
‣
Load the Forma Proposal
Open the Massing & Site > Forma > Load Proposal tool to load in your proposed design.
First, choose the Load Options tool to specify how the elements in your Forma proposal should be imported:
Turn on Create walls, floors, and roofs for building to automatically create these elements in Revit for your buildings created using Forma’s standard design tools.
Turn on Create mass families for building envelopes and define mass floors.
Turn on Create conceptual masses for 3D Sketch elements to create conceptual masses using for any buildings created using Forma’s 3D Sketch tools.
Turn off Separate Levels for each building to reduce the number of levels created from the Forma buildings.
Turn off the conversion of site boundaries and property parcels and roads as terrain subdivisions
Next, choose the Load Proposal tool to import the Forma proposal elements using these settings.
💡
This loading process may take a few minutes to load the Forma geometry and create Revit elements.
Click the Close button to dismiss the attribution warning that appears regarding using OpenStreetMap and Open City model data.
‣
Refining with the Imported Geometry
‣
Create a new 3D View focusing on your Imported Geometry
Duplicate the Default 3D view, and rename this new view.
Select one of the Generic Model elements representing the contextual buildings, then right-click and choose Hide in View > Category to hide all the Generic Model elements. (Or, use Visibility Graphics Overrides to turn off the visibility of the Generic Models category.)
This will allow you to easily focus on your imported geometry.
Turn on the Section Box checkbox in the Properties palette to display the section box.
Select the section box, then use the blue arrows to resize the box to focus on your imported geometry.
‣
Working with Geometry Converted from Buildings Created using Forma’s Standard Design Tools
If you turned on the Create walls, floors, and roofs for building option while loading your Proposal, the import tool will automatically create these elements in Revit during the import process.
You can choose these walls, floors, and roof elements in Revit and edit them using any of the standard techniques for editing Revit elements:
Changing the Wall, Floor, or Roof types
Adding Doors or Windows.
Editing the Floor or Roof boundaries.
Cutting Shafts.
And so on…
‣
Working with Geometry Converted from Building Forms Created using Forma’s 3D Sketch tool
If you turned on the Create conceptual masses for 3D Sketch elements option while loading your Proposal, the import tool will convert these 3D Sketch elements into Revit conceptual masses.
If you turned on Floors while creating your building form using 3D Sketch, Revit Mass Floors and Levels will automatically be created matching the floor-to-floor heights you set up there.
Convert your Conceptual Masses into Revit building elements.
Convert the mass floor at the ground level to a floor type that is appropriate for being placed on grade -- for example, you might duplicate a generic type and create an 8” Concrete Slab floor type.
Convert the upper level mass floors to a floor type that is typical for floors above grade -- for example, LW Concrete on Metal Deck.
Convert the top surfaces of your conceptual masses to Roof elements.
Open the Roof by Face tool.
Choose a Roof type for the roof elements to be created.
Select the surfaces to be converted to roofs.
Convert the vertical surfaces of your conceptual masses to Wall elements.
You can convert vertical and sloping surfaces into basic wall types or curtain wall types using the Wall by Face tool.
Surfaces that have a compound curvature cannot be modeled using the basic wall types. For these surfaces, use the Curtain System by Face tool.
‣
Add Key Building Infrastructure Features
After refining the imported geometry, add these key building infrastructure features as Revit elements:
Two or more stairways will be needed for emergency egress. Model the building stairways using:
A Multi-Story Stair to span all the required levels.
A Shaft element to cut openings in all the floors.
Walls around the stair shafts.
Model any atriums or openings between the floor levels using Shaft elements.
‣
Part III — Sharing Your Proposed Design
‣
Create Views: Perspective Cameras and Building Sections
Create a few exterior camera views at the ground level to show the appearance of the buildings from a street view perspective.
Create a few 3D views to share aerial/birds-eye view perspectives.
Create a building section view to show any special interior relationship between the floor levels -- for example, at an atrium or floor opening.
‣
Place these new views on sheets
Exterior camera views at the ground level to show the appearance of the buildings from a street view perspective.
3D views to share aerial/birds-eye view perspectives.
A building section view to show the relationships between the floor levels.
Sharing Your Project
Please follow the instructions in the Canvas assignment to upload your building model to your folder on Autodesk Construction Cloud Documents and create a new post sharing your project on this linked Notion page. Add your ACC Shared Link in the card.